Design

Design
Showing posts with label Teen Room. Show all posts

Friday, 26 February 2016

Teen Rooms Get Updated


One thing we did recently was purchase queen sized beds for our two (very tall) teenagers, which meant more moving and shifting.  It always amazes me how a family is constantly growing and changing.  We switched out my daughter's iron bed in her bedroom...which is one of the sweetest beds and I can't part with this headboard...I may just put it somewhere unexpected because I love it so much.  I had the queen one above, in storage...I bought it at an auction years ago and stripped it down. I really do love it against the black wall.  (Speaking of growing and changing, my daughter is now telling me she wants the bed on the floor and the collage down...like...what?!)


Before

After


And my son wanted his room moved up from the basement, which also means my office is now in the basement...and explains why I've been a little slow with posts lately. No headboard for this bed...just a huge arrow which I painted on the wall.  This simple, graphic arrow is one of my favorite things in my house.  I'll have to post more on this room later.

Do you recognize this industrial-style light?  It's the one I spotted last year at Home Depot....very cool and under $100.00.

Here's a pic of the office before it became a bedroom bed.


(All pics taken by me with my iPhone.)

So that's the quick update.  
Have a good weekend!


Saturday, 7 November 2015

Teen Girl's Room Before and After


Does anyone remember this room?   You know, the room I started over a YEAR ago...well it's done...well, I'm never really done, but it's basically sort of finished :).  I know all you designers/decorators out there know what I mean...done until the next Pinterest or magazine pic makes me go a whole new direction.  Anyway, here's my daughter's "finished" teen room.  (If you haven't been following along, you can read about the process herehere and here).


Here's a little peek at what it was before... a little shabby chic with pale green walls, vintage linens and soft pink accents...it was so sweet.


Ok...back to the teen room...I basically used all the furniture from before, with the exception of the gold Target side table and just painted the walls.  There's lots of cheap in this room...everything from the found iron bed, to the valance (which is simply a table runner from Homesense that I just cut in half), to the chair that a friend gave me (thanks Deb!) to the thrift store dresser and desk.  The window valance will probably change... a little too bright for a teenager in the morning...but until I find something I really like, they'll stay.  All the artwork I made...and the pompoms below are super cheap and add some dimension and texture.


Sources

Striped Bedding, Hanging Light:  Ikea
White Blanket:  Martha Stewart (many yrs. ago)
Faux Fur Pillows:  Pier1 Imports
Chevron Pillows:  Fabricland
Gold Table:  Target
Table Lamp, Valance & Pouf: HomeSense
Striped Cushion:  SuperStore
Ceiling Light:  Home Depot
All Furniture:  Thrifted


Tuesday, 21 April 2015

My Girl's Teen Room Continues


My goal was to finish this room by Christmas (and last I checked it was April) but braces and a few other dentist bills (like two root canals with no dental coverage) happened, and the room has just sort of been stuck.  You can see my previous posts on this room here and here.  

So this is where this room stands now...one side of the room is done, but I decided to change the dresser which was originally against the black wall and put the white chair here instead.  The collage then had to move a little further down the wall.  I also  purchased this gorgeous knitted pouf from HomeSense, and found this very cool striped bedding at Ikea.  Oh ya, and the gold end table is from Target (which sadly is no longer here in Canada), and I may have mentioned that in my previous post.


And here's Po on my daughter's bed while she was away for Spring break.  (For a whole week my daughter's bedroom was tidy!)  Actually, this pic of Po was featured on the Style at Home Instagram in March.  That was pretty darn exciting!!!  If you scroll down their account you'll see it!


That's it for updates. 
Have a great day!!!


Monday, 15 December 2014

More Changes to My Daughter's Teen Room


 This room is slowly, and by slowly I mean very slowly, coming along.  My daughter is learning patience.   Hey it's a good life lesson to understand that we can't always just go and buy whatever we want. Some times we have to wait for things...what a concept!  If you follow me on instagram you've seen this pic before.  I found this cute gold accent table at Target for under $80.00 and thought it just looked amazing against the black wall.  Then I decided that all that gorgeous Kate Spade framed paper would look amazing above it.  I also found a cool metal hashtag and "at" sign at HomeSense  and along with the "B" I made earlier, decided to make a collage above the accent table.  I originally had a bookcase here but I thought the gold table looked so much better, so I moved the bookcase to the other side of the room.  Then I wanted a light for above the bed, and was thinking about making one, but spotted this one at Ikea.  The cord and shade combined total was under $20.00.


This is what the light looks like fully assembled.  Pretty cool right?  I love it against the black wall.


One other project I completed was fixing this old bulletin board.  I decided to paint the inside black and add gold thumb takes to the edge.  I then rubbed gold paint into the edges to just give it a bit more gold.  Easy to do and the result was a big change.  It actually is one of my favourite things in the room, and again, not expensive.  You can see the process of this room here and here.


Tuesday, 21 October 2014

Basement Blitz - Before & After Teen Boy's Room


 As some of you know, we had a film crew in our house a couple of weeks ago filming a pilot for a TV series (so not a TV show yet but maybe one day!). Since my husband is a director, we were contacted about shooting a pilot and well, let's just say now we have a room in our basement. The show concept would feature the four Toronto champs from last year's Canada's Handyman Challenge that form a "reno dream team". So they decided to blitz a room in our basement and make it into a bedroom for my 17-year old son.  It was two days of madness but lots of fun, and of course, an amazing room at the finish!

One of the challenges this room had was hiding the electrical panel which is in the far corner and is one of the focal points.  So we came up with the idea of housing it behind a dartboard.  All you have to do is push on the frame of the dartboard and it opens up to the electrical panel.  What most people do is place a door here and I really didn't want that, because to me, it adds more attention to the area and everyone knows that the electrical panel is behind it.


Another focal point in the room was the door which is in the middle of an outside wall (above) and leads to the cold room under our front porch.  This door cannot be removed and is right in the middle of the room. Instead of drawing more attention to it by painting it out white, I decided to paint the door and the trim the same colour as the walls - Moonshine by Ben Moore.  The reno dream team then decided to put a guitar holder on it and an old broken skateboard.  I thought this was a great design idea because my son is really into skateboarding and guitar and the guys were able to use one of his broken skateboards.


My favourite thing in the whole space is actually the way you enter ... through a barn door!!   I've always wanted a barn door/loft door in my house so this was a great opportunity to try one.  Instead of going with a standard door, they decided to make me one and added their own touches.  I just love it!!!  This is a great way to make a space just a little different than the ordinary.  You can also see the door from the other part of the basement so it adds some visual interest at the end of the hall.


One other cool space they created was the desk area which is on the opposite side of the room. They used two existing shelves that my dad made for me about 30 years ago, and then cut an old door and fit it to go between the two bookshelves.  They also mounted one on the wall and placed the TV on it with some crazy lights behind it.  I love this idea.   In a society where we just throw everything out and start over, it was great to utilize what we had and re-purpose an old door.


So this is what the top floor of my house looked like during the filming...about $60,000.00 worth of cameras.


This is what the basement looked like before the carpenters arrived and I've also included a pic of what it looked like during the madness.  (I like pretty pictures so before pics are always hard for me to show but I realize people need perspective.)


Here's a pic of his upstairs bedroom before the move to the basement. (It was never usually this tidy!)


Sources:
Bedding:  Ikea & Homesense
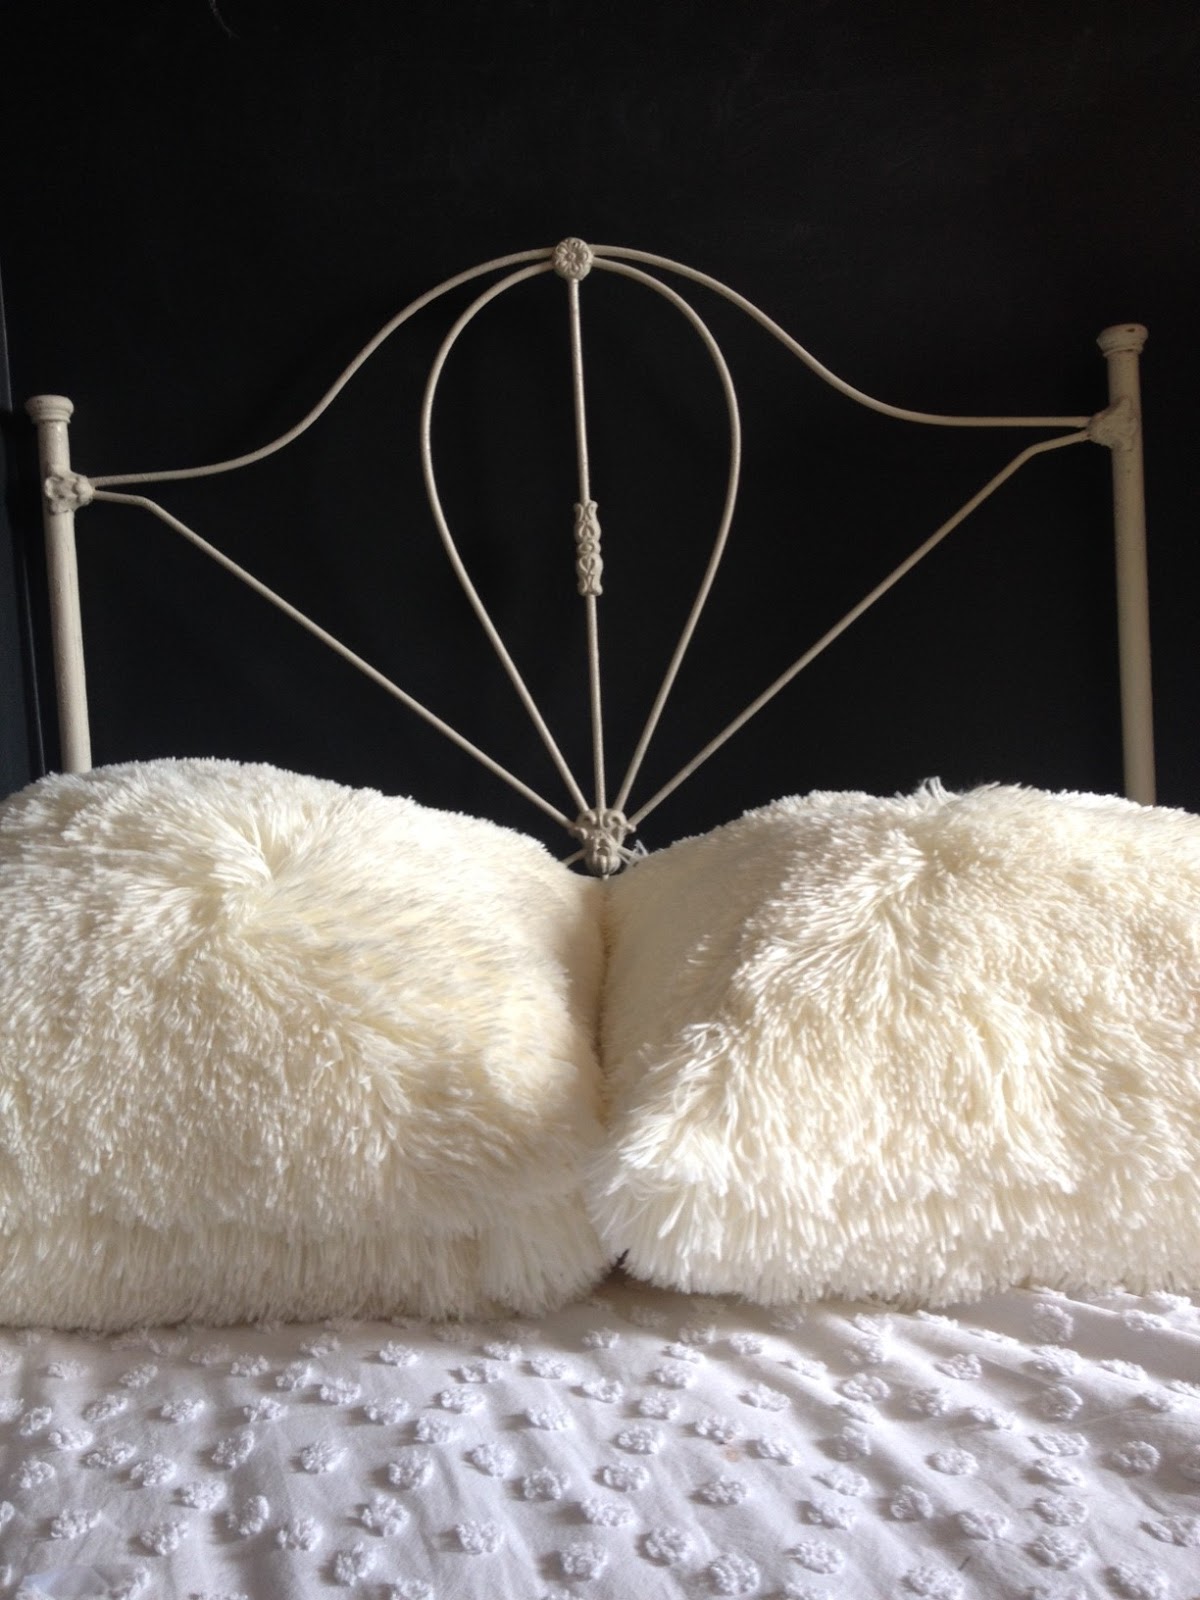
Pillows:  PC, Homesense & Ikea
Chair, Side Table & Lamp: Ikea     


Thursday, 9 October 2014

Teen Room - Painted Furniture & Cheap Decorating


So it's been quite a while since I updated you on my daughter's teen room (like a couple of months).  If you haven't been following along, you can see where I started from here and the progress here.  I painted 1 1/2 walls black (which was custom but very close to Ben Moore Black Iron 2120-20) and the rest of the 2 1/2 walls white ( Ben Moore Soothing Mist OR483) so it's quite dramatic. 

 I finally got around to painting the furniture as well, which I'm absolutely loving. Keep in mind that all these painted pieces of furniture were purchased at garage sales, auctions or found.  The dresser we found at an auction about 20 years ago, and it's been white and green and now black.  The book shelf we found at a yard sale (before pic is below) and I painted the outside black and the inside white.  Then I found this amazing Kate Spade double-sided gift wrap at Chapters.  It's got gold polka dots on one side and black and white stripes on the other.  Beautiful!!  So beautiful, in fact, that I decided to line the back of the bookshelf with the black and white and then frame a swatch of each.  Talk about cheap decorating.  I had these frames I wasn't using, so I was able to just take the pictures out and leave the back on and glue the wrapping paper to it. 

Before


Since this book shelf is long and narrow,  I decided to attach the paper with the stripes going horizontal instead of vertical.   I absolutely love the black and white stripes against the dramatic black wall.   Oh ya, I also decided to tie a feather boa around the boring lamp shade to add some drama.   


Here's one more update - I also got some big, over-sized fur cushions from Pier1 Imports and a couple of chevron cushions at Fabricland ($10 for just the cover).  If you follow me on Instagram, you'll know that these chevron cushions keep moving to other rooms.  Not sure if they're going to stay in this room or not.


So there's your update!  

I just want to remind you that decorating does not have to be expensive, and painting a piece of furniture can really bring new life to a space.  You can check out some other furniture I've painted around my house here.

Have a great day!!!

Monday, 18 August 2014

Some PB Teen Finds


This is just a quick post to share what I'm loving at PB Teen right now.  I was sourcing for my daughter's room and came across all this beautiful stuff.  My faves are the fur rockin' roller desk chair, the love rug and heart cushion.   


Monday, 4 August 2014

Teen Room Update


Here's a little peek at what I've been up to the last couple weeks.  We finally got around to painting my 
daughter's room, and...what a transformation.  I love it.  More importantly, she loves it!

I decided to paint two walls black and the rest of the walls cream.  This bed will probably look more like a daybed when it's done, but I just wanted to show you the progress.  She's on the fence about keeping this gorgeous iron bed, which I absolutely love.  My sister found it in her barn - can you believe that?  I love it against the black wall.


We've also had some fun this summer doing some "glam" projects for her room.  We hacked this Ikea wooden drawer set (which I don't think is available anymore) by painting it black and adding some "bedazzle".   I purchased these "jewels" from a dollar store and then glued them on with  fabric glue.  They come in adhesive strips of about 12, but the adhesive isn't that strong so I had to use a stronger glue.  A bit tedious, but worth the effort.


I also traced her initial, "B", and outlined it in "pearls" and used the same process above to apply them.


I'm thinking of making this for lighting in her room to add some real drama against the black wall.  I'm also going to be busy painting some of the old furniture, so I'll keep you posted.